

Manufacturing aids & tooling
Make the making easier.
A part that stays put. A support that saves an awkward step. Discuss 3D printed jigs, fixtures, patterns and tooling around the problem on your workshop floor.
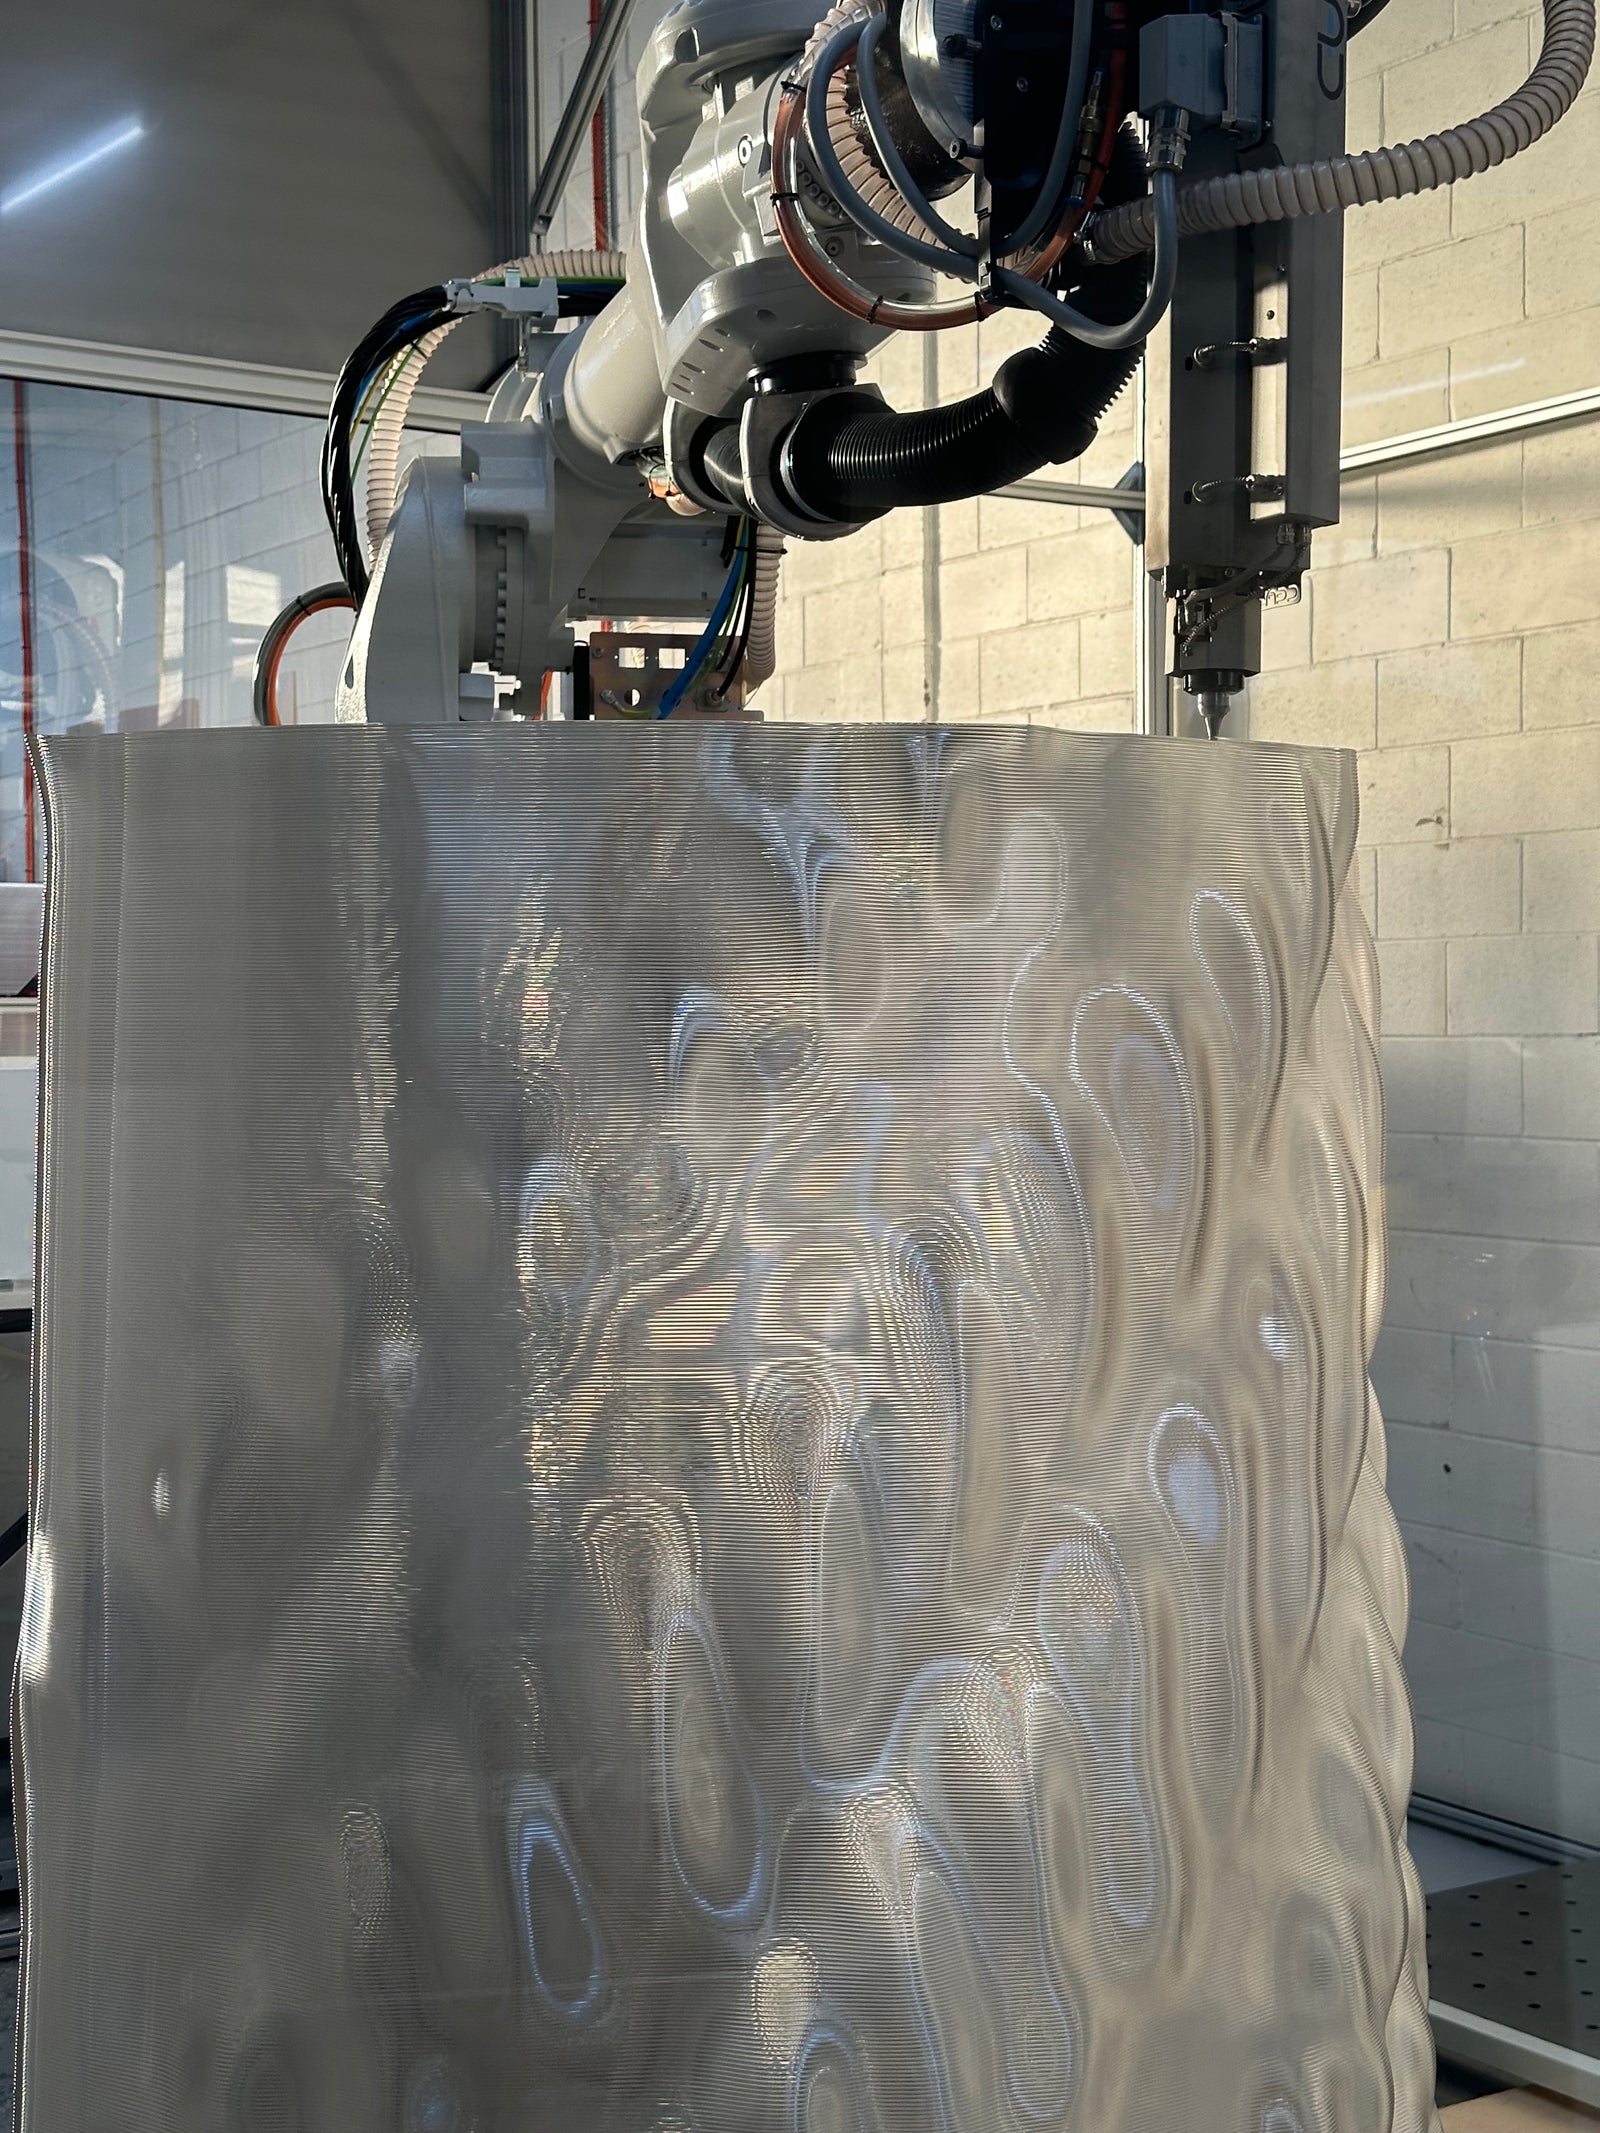
Hold it
Jigs and fixtures for a defined assembly or inspection task.
Shape it
Patterns and forms for the next stage of a tooling process.
Move it
Trays, guides and supports around the way your team works.
What to bring
The production step, geometry, contact surfaces and cycle frequency. Heat, pressure, wear and chemicals help determine whether printing fits the job.
How we approach it
-
Map the operation
Describe the existing process, the part being handled and the outcome the aid must improve. Identify cycle frequency, contact points and constraints.
-
Review geometry and material suitability
Assess loads, heat, wear, accuracy and chemical exposure alongside the printing approach. Define where machining or another specialist process may be needed.
-
Evaluate before wider use
Discuss a trial part or prototype, a practical evaluation method and the acceptance criteria. Agree finishing and production only after the requirements are clear.
A few useful answers
Can every jig or mould be 3D printed?
No. The process, material and geometry need to suit the operation. Share the working conditions so we can assess the application and identify any additional processes required.
Can a printed tool be used directly?
That depends on the operation and agreed requirements. Some applications may need finishing, machining, sealing or other work before evaluation and use.
What information helps assess feasibility?
A description of the production step plus dimensioned geometry and operating conditions is the most useful starting point. Identify the features that control accuracy, contact or alignment.